Portrait Shoot Preparation: Makeup, Skin and Hair
When I was in my teens, I thought photographers were like magicians. You go to one and they magically make you look incredible. Then I became a photographer and whilst I often feel a little like a magician, I know that much of the magic happens before anyone sits down in front of my lens.
This how to prepare your makeup, skin and hair ready for a photoshoot.
Makeup
You can add basic makeup to an image and smooth skin in post-processing and it’s reasonably effective. However, you cannot add that sheen across the skin, sparkle in the eyeshadow or shimmer over the lips.
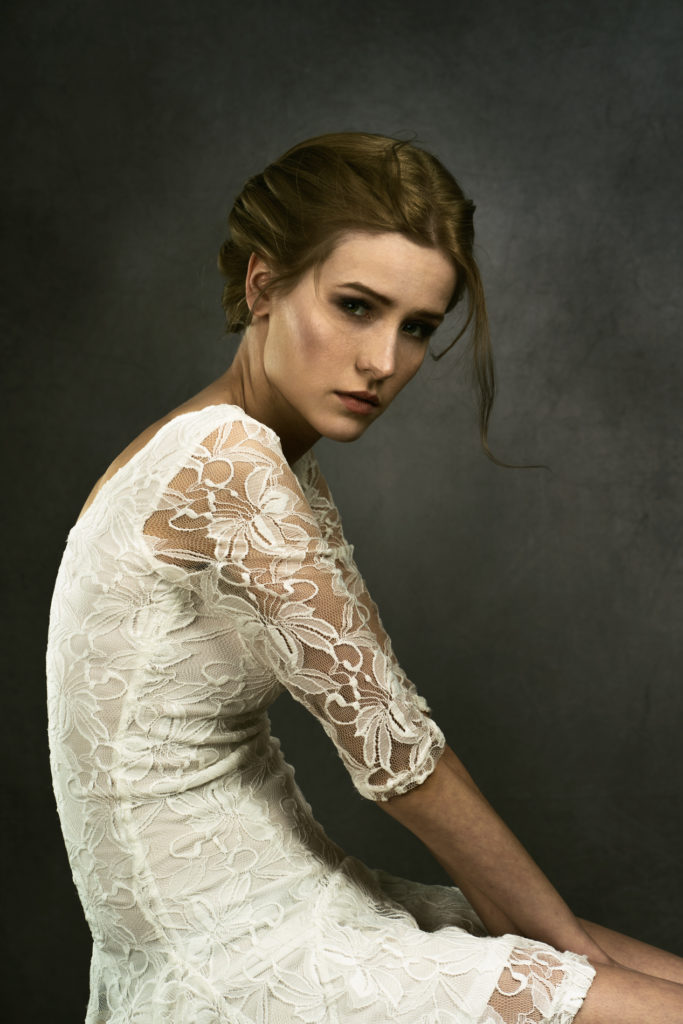
The time you save in not putting makeup on before the photoshoot is quadrupled in adding makeup after the shoot and it will never look as good. It is much simpler to get it right before you get in front of the lens.
I asked professional makeup artist Roby of Wilmington Therapy for a few pointers on how to do your own makeup specifically for being photographed. These are her top 10 tips:
Skin Preparation
1. It’s really important to go for a look you’re comfortable with.
2. Ensure your skin is prepped well. I am an avid fan of Environ skincare which I use on my clients and in my salon. It’s vitamin A based and feeds your skin to the lower levels. I am not a fan of harsh abrasive exfoliation, however, if you don’t have a regular skin regime before then it is a must to gently exfoliate a day or two before and really moisturise well.
3. Make sure you moisturise before you apply a primer. There are so many primers on the market at different price ranges. I love Jane Iredale’s smooth affair which has grapefruit extract which brightens the skin. Avon has a primer, but you can also go to Mac and Nars depending on your budget.
Practice
4. Practice your look before and watch some online tutorials for some tips or feel free to message me and we can do a zoom consultation or salon consultation.
Foundation
5. Less is more. If you are not used to wearing a heavy foundation then a tinted moisturiser might be your new best friend. It’s a light coverage but adds warmth and depth. The key is blending. Really work it into your skin. If you have bags you need to hide then a good concealer such as Jane Iredale’s enlighten has enough pigment to brighten under the eyes, without looking cakey.
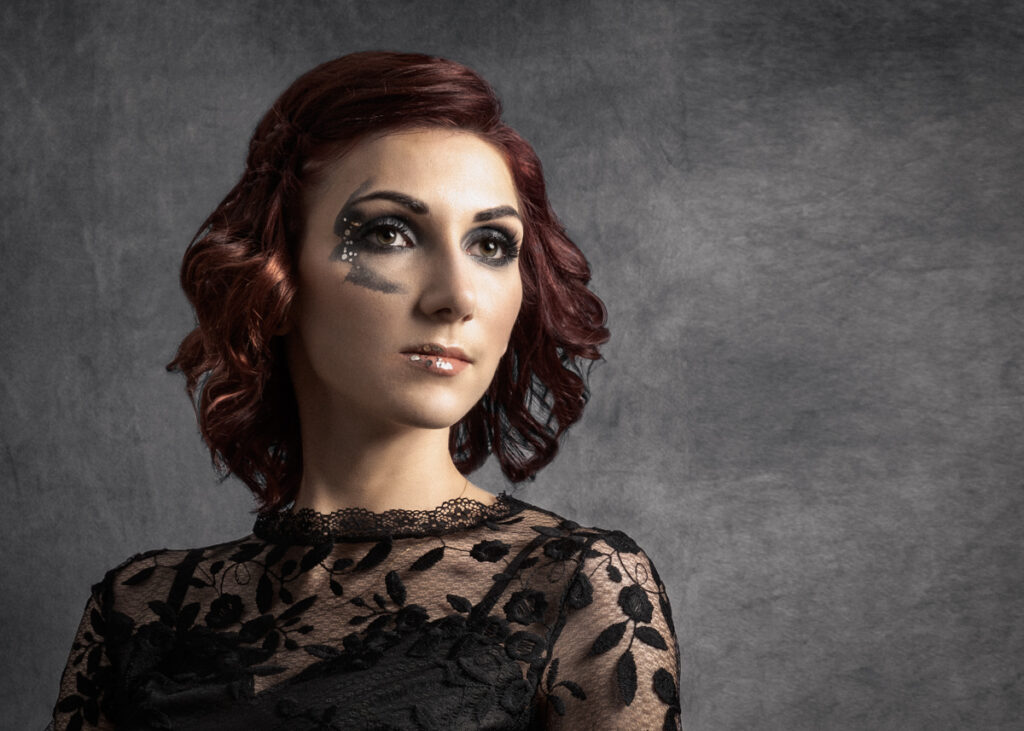
Eye Makeup
6. When it comes to eye make-up, think about what you would like to achieve and what you can achieve. Make sure you have a good base on your eyelids. Mix some concealer with your foundation and work it up to the brow. You will then have a good base for the colour you are wanting. If you are using powder shadows or pigments, make sure you use a translucent powder gently to set the base before applying the pigments.
7. Lashes can really define your eyes. Go for the natural look ones, make sure you curl your natural lashes before applying mascara. Let this dry and then apply the lashes really close to your natural lashes so they sit on them. You have a bit of playtime before the glue sets, to adjust. Practice before the day as much as you can as they can be fiddly. Again, once dry, add another coat of mascara to ensure your natural lashes and fake don’t have a visible gap.
Lips
8. Make sure you have kept your lips moisturised and make sure you use a liner gently. It depends on the look you are wishing to achieve, but make sure you do a couple of coats and don’t forget to check your teeth before you smile!
Cheeks
9. Cheeks! The look of aunt Sally is well and truly gone so keep to your cheek bones and no further on than the centre of your eye or lower than the bottom of your nose.
Set
10. Make sure you set the look with a translucent powder that you have lightly applied with a brush. You want to look glowing, not cakey. Less is more. Lastly relax and enjoy it.
Skin
Makeup can do a lot to conceal skin problems, lighting will help and retouching can eliminate imperfections in the skin. However, good lighting isn’t always available and you won’t necessarily have a skilled photographer and re-toucher.
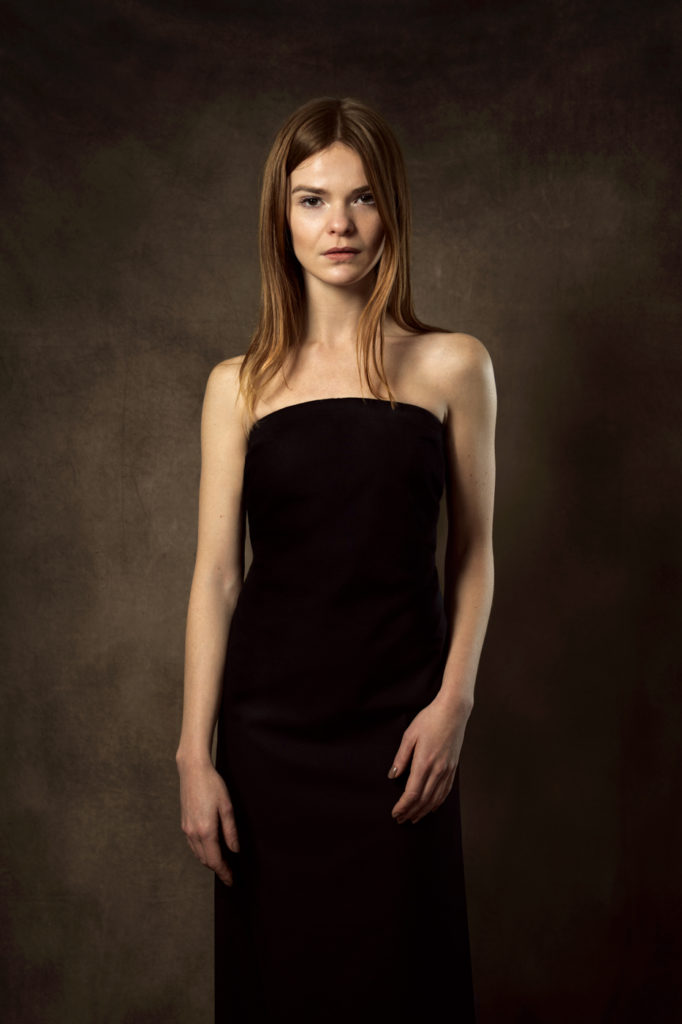
Even if you have a good makeup artist, lighting, photographer and re-toucher, there is nothing like bare, glowing, perfect skin.
The late photographer Peter Lindberg chose to photograph super models without makeup and refused to retouch them because he wanted to show natural beauty. Instead, he photographed them in soft light, as they were. We’re not all supermodels, but we can visit the skin and beauty salon.
I asked skin care expert and educator, Andrea Dunne of Prodige Skin Aesthetics Education, to provide some advice on how to prepare your skin for a photoshoot. She says:
“You may want to consider a light facial peel before your photo to lighten and brighten the skin giving you that youthful luminous glow. I would recommend having this a few days prior to any photographic work.
You could also consider one of our luxury dermaplaning packages which will remove all dead cells and vellus hair on the face with the added benefit of a lymphatic massage and rubber mask to ensure your skin is in optimum condition for your photos.”
If your arms, legs or any other part of your body will show in your photographs you’ll need to exfoliate those area a couple of days before and and make sure skin is well hydrated.
Hair
Hair will either make or break a photograph. If your skin has some problems or you don’t get your makeup right, I can fix your skin and add some makeup in post processing. It takes time and won’t be exactly the same, but I can get close. I cannot fix your hair. I can add volume, but I cannot morph your hair into a style that isn’t there.
I’m not a hair expert, so I asked the very talented hair stylist Laura from VersaStyle by Laura, whether she’d be willing to give some advice on how to do your own hair or prepare your hair for a stylist.
Doing Your Own Hair:
- Make sure the style you choose fits the brief of the shoot you are working on.
- You may also want to consider using products to set your style. This is most important for an outdoor shoot because the weather may play a part in how your style lasts.
- If you are required to wear a hat or hair accessory, or perhaps a combination of wardrobe changes, then arriving with your hair down and either straightened or curly can be more adaptable for each look.
- Always choose a style that you are comfortable in achieving and one that will last the duration.
If a Stylist is Doing Your Hair:
- Ideally you need you to wash and dry your hair the night before the shoot.
- Your hair shouldn’t contain any products and be combed and detangled prior to arrival.
- Avoid tying up your hair because it can leave kinks in the natural fall.
- Your hair stylist will have planned your hair style from scratch and it is therefore not necessary to straighten or curl your hair before the photoshoot.
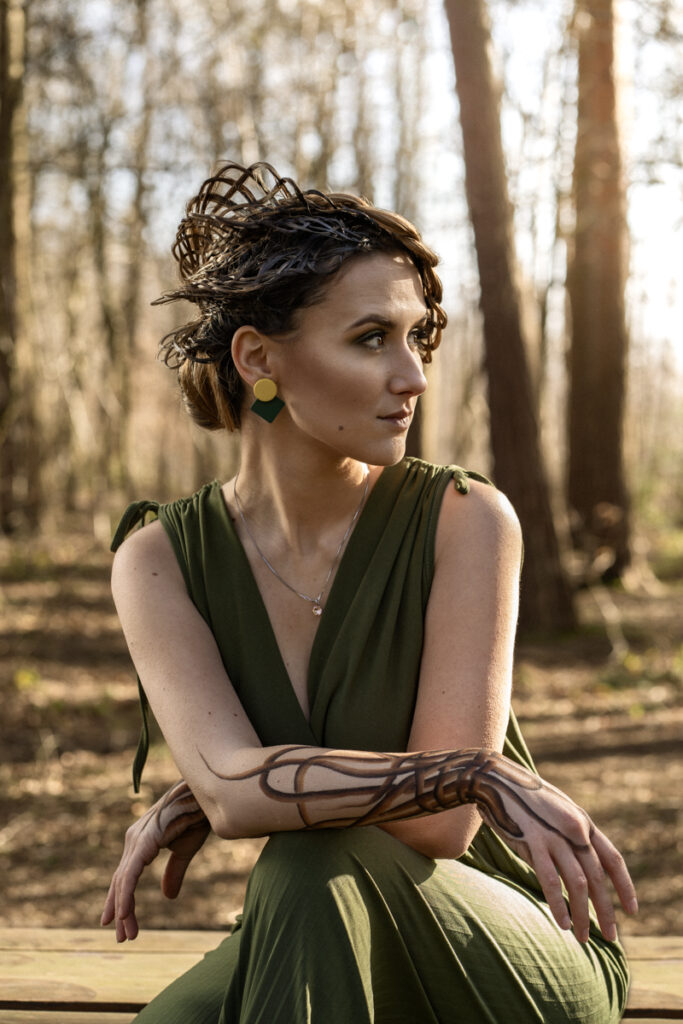
Laura specialises in braiding. I was lucky enough to work with Laura on the competition submission image above. The structure, pattern and texture of the braids was extraordinary. This photo only hints at how incredible the design and execution of this style was.
Summary
Even people who are really good at makeup can have an uneven patch of foundation they can’t see, but that the camera will. Makeup artists are really good at getting an even colour across your skin bringing the reds down and concealing any shadows. They’re great at symmetry which means making your eyes, eyebrows and either side of your lips match, even when they’re slightly different in reality.
Dry, unhappy skin can only be concealed so far with makeup, so if want to have natural, bare skin, having a treatment a couple of days before the shoot will help give it a natural glow. Don’t forget about the rest of your body. Any skin that shows will need some love.
Hair is so incredibly important for your shoot that it’s worth getting it exactly right even if the image is only for a headshot. It’s a really big element in giving your images the wow factor!
As a photographer, I would always advise using professional services, if you can, because the details professionals are trained to see are what makes your images stand out from everyone else’s.
Contributors
Many thanks to my contributors for this blog post:
Roby Crosswell-Crouch of Wilmington Therapy is based in Ashford, Kent. Roby is a trained makeup artist and can create you the most perfect no makeup makeup look for naturals glowing skin or add some drama to really make you stand out from the crowd. Contact Roby for a consultation.
Andrea Dunne of Prodige Skin Aesthetics Education has a branch in Canterbury and another just outside Faversham, Kent. Andrea has over 25 years of experience in skincare and has trained therapists for some spas including Harrods, The Langham Hotel London and Life House Sp and Hotel. Contact Andrea for skin consultations, products and treatment plans.
Laura McPhee of Versa Style is based in Canterbury, Kent. Laura’s an incredible hair stylist and her hair braiding skills are astounding. Get in touch with her for any event you want your hair to look its finest for.
I’m Nina Carrington, a portrait photographer based in Faversham, Kent. I’d love to help create a look that’s unique to you or your business. Please contact me for details.